Choosing the right camera crane can feel overwhelming, especially if you've never used one before. The difference between a spending all of your prep time and never getting a shot off and a smooth, cinematic sweep that boosts production value often comes down to the crane you're using and how well it matches your shooting style. This guide breaks down everything you need to know, including what to look for, what to avoid, and which crane fits your specific needs.
Why Use a Camera Crane?
A camera crane (also called a jib or boom) lets you move your camera vertically and horizontally in ways that tripods, sliders, and gimbals simply can't replicate. Think of classic cinematic shots; Once Upon a Time in the West when Claudia Cardinale's character arrives at the train station waiting for her new husband to show. When he doesn't she enters the bustling town and a gorgeous crane shot follows her through the station and rises up to get a view of all the action. Viola cinema.
For us normal folk and day to day productions, it might be a sweeping overhead reveal at the start of a wedding ceremony, a dramatic rise over a landscape, or a slow descent into an interview subject. These shots instantly signal "professional production" to viewers, and they're nearly impossible to achieve any other way.
The good news is that you don't need a Hollywood budget to get started. Modern camera cranes designed for independent filmmakers are lightweight, affordable, and can be set up by a single person in minutes.
What to Look For in a Camera Crane
Reach and height. Camera cranes are measured by their arm length, which determines how high and how far your camera can travel. A 4-foot crane like the Orion Jr DVC60 is perfect for tabletop work, tight indoor spaces, and situations where portability matters most. An 8-foot crane like the Orion DVC210 hits the sweet spot for most productions. It reaches over 11 feet in the air while still being manageable for a solo operator. For large-scale productions, a 12-foot or longer setup gives you truly dramatic sweeps.
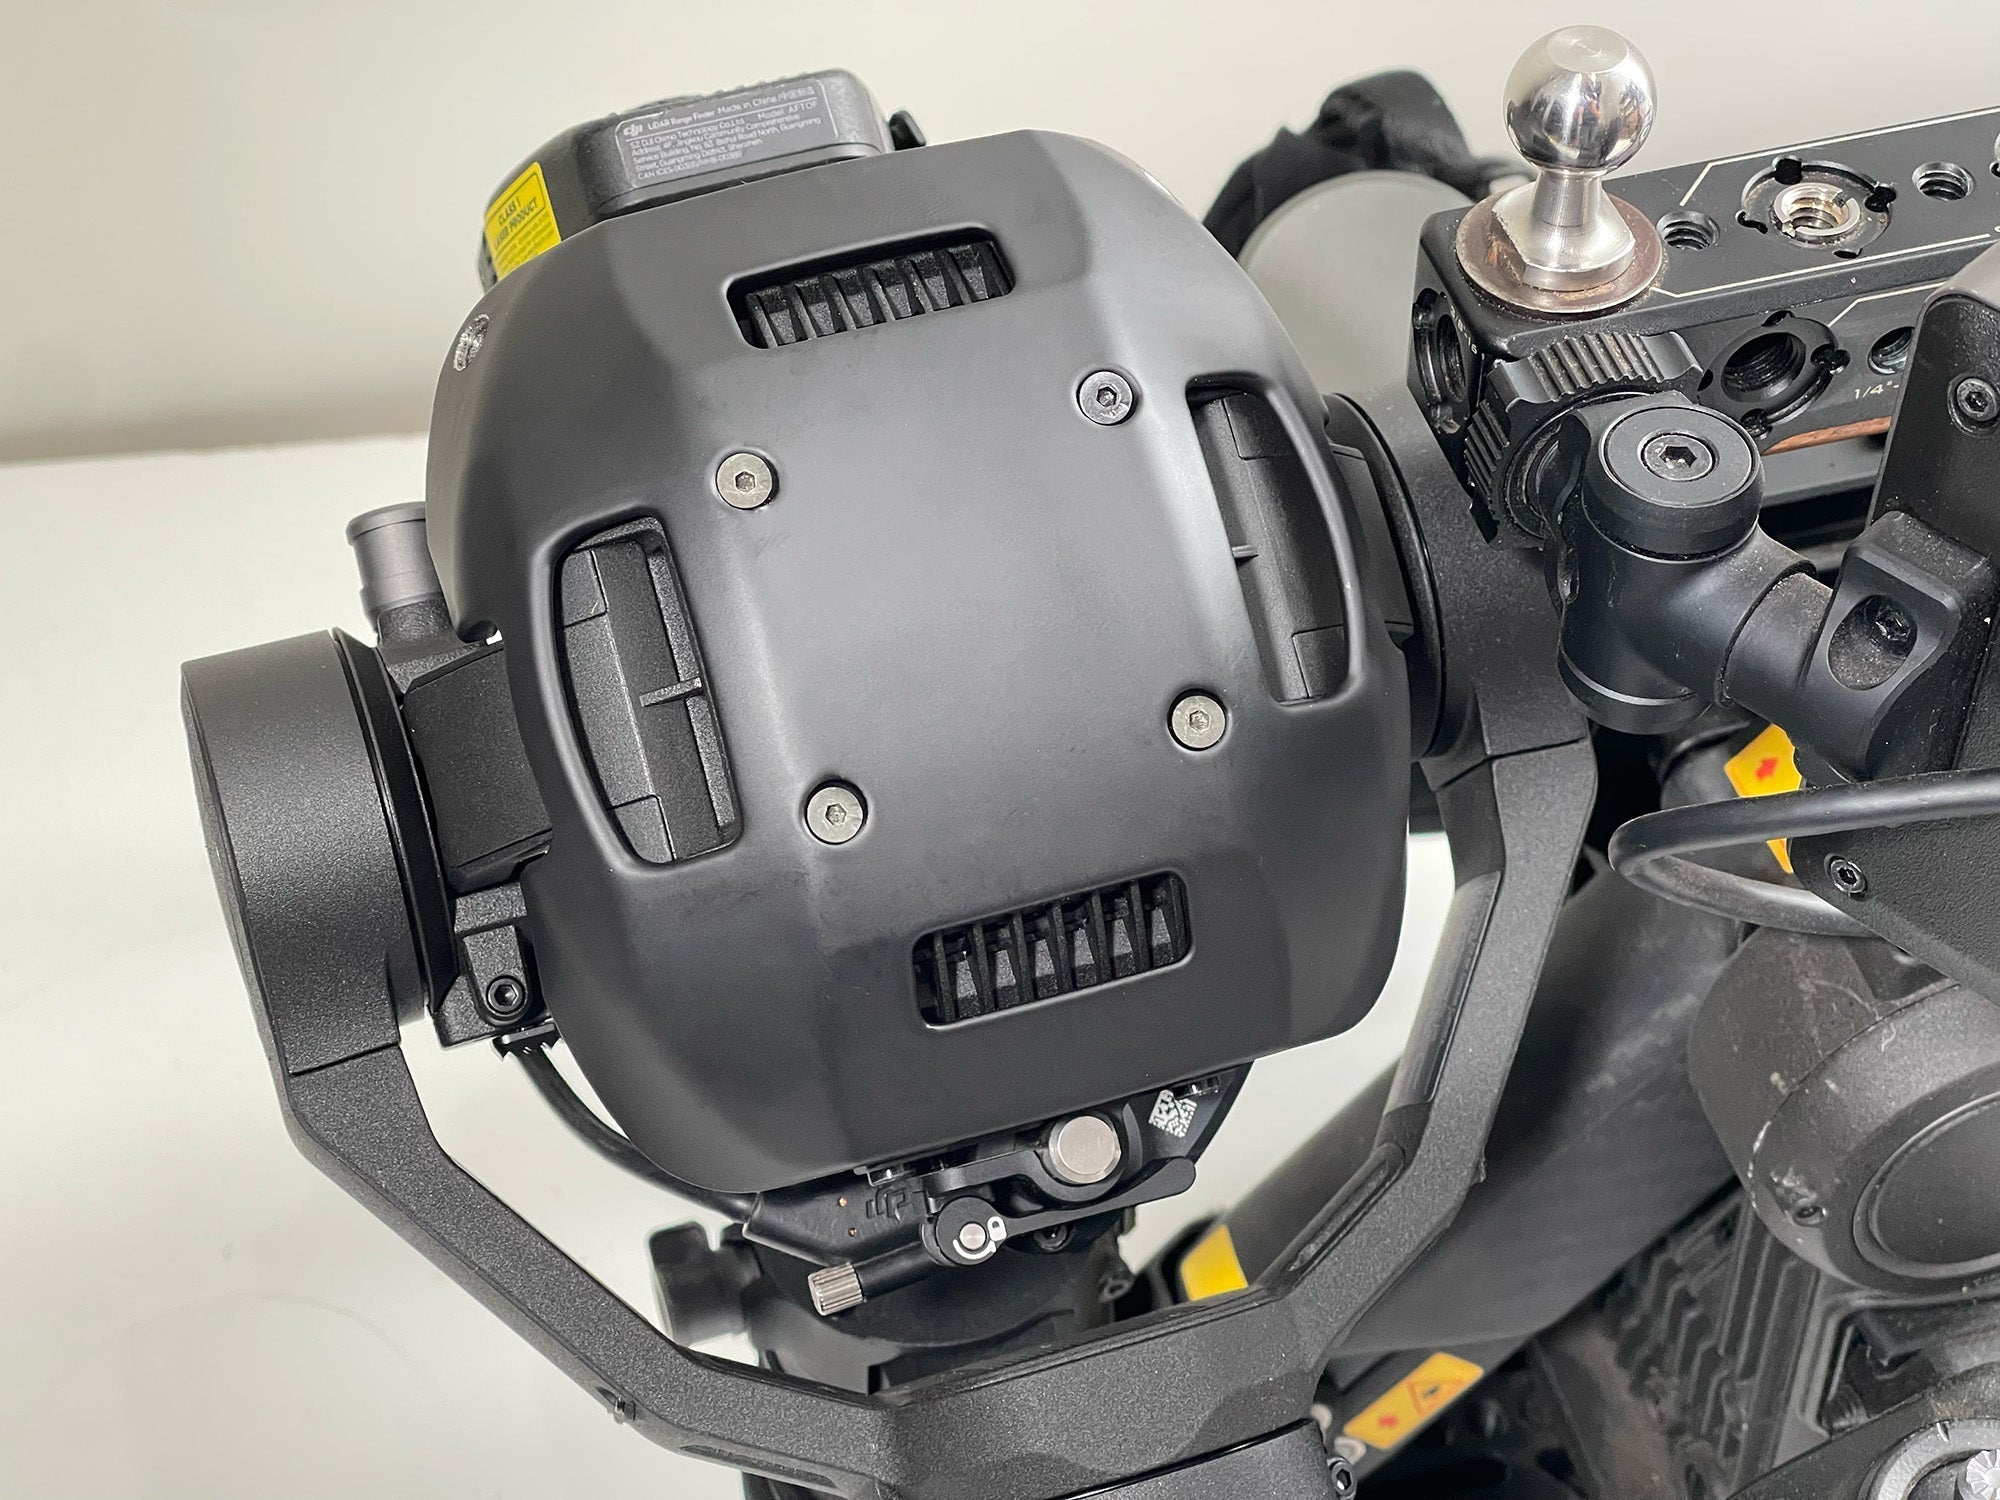
Weight capacity. Make sure the crane can handle your camera, lens, and any accessories (monitor, microphone, etc.) you plan to mount. Most cranes designed for mirrorless and DSLR cameras handle loads up to 10 lbs, which covers the vast majority of camera and lens combinations.
Material and build quality. Aircraft-grade aluminum is the standard for professional cranes. It's strong enough to support your gear while being light enough to carry on location. Avoid cranes made from thin steel tubing, which adds unnecessary weight.
Setup time. If you're a solo operator or working on fast-paced shoots (indie films, weddings, events, run-and-gun documentaries), you need a crane that assembles quickly without tools. Look for tool-less, snap-together designs that one person can set up in under 10 minutes.
Counterweight system. Every crane needs counterweights to balance the camera on the opposite end of the arm. A good counterweight system is easy to adjust and stays locked in place during operation. Some cranes use standard barbell weights, which are cheap and easy to find anywhere your production leads you.
Camera Crane Comparison: Which One Fits Your Needs?
Best for beginners and tight spaces: Orion Jr (4 ft) The Orion Jr series is the most compact crane in the ProAm lineup. At just 4 feet, it fits in spaces where larger cranes can't go, including small rooms, stages, and tabletops. It's also the most affordable entry point for filmmakers who want to experiment with crane shots before investing in a larger system. Great for YouTube creators, product videographers, and anyone shooting in confined environments.
Best all-around crane: Orion DVC210 (8 ft) The DVC210 is ProAm's best-selling crane for a reason. With an 8-foot arm that reaches over 11 feet high (when mounted to a stand or tripod), it handles everything from weddings and documentaries to narrative films and corporate videos. Add the optional 4-foot extension and you're up to a 15-foot total reach. It assembles without tools, operates with one person, and packs into a single carrying bag. The center mounted, over-slung camera mount accepts things like pan heads and gimbals.
Best for cameras where manual tilting is needed: Orion DVC200 (8 ft) If you're shooting with a camera and prefer to move quickly, the DVC200 is built for the job. It shares the same 8-foot arm length as the DVC210 but with an easier manual tilt function due to the center of gravity of the camera being more centered off to the side.
Best for large productions: Taurus Jr (4 ft) The Taurus Jr is the crane you see on professional film sets, concert stages, and broadcast events. It supports heavy camera packages up to 30 lbs and provides the smoothest, most cinematic movements in the lineup.
Essential Accessories
A crane alone gets you started, but a few key accessories complete the setup.
An LCD monitor is essential. When your camera is 10+ feet in the air, you can't look through the viewfinder. Mount a 7-inch monitor at the base of the crane so you can see exactly what you're shooting.
A motorized pan and tilt head lets you remotely control camera angle while the crane is in motion. This is what separates amateur crane shots from professional ones.
If you want the complete setup without piecing it together, check out our bundled crane packages which include the crane, tripod, monitor, and accessories at a bundled price.
Tips for Getting Great Crane Shots
Start slow. The most common mistake new crane operators make is moving too fast. Slow, controlled movements look far more cinematic than quick sweeps. Slow to start, slow to stop. That will give your movements an intentional, controlled feel.
Practice your counterbalance. Spend time getting the weight distribution perfect before you start shooting. A well-balanced crane should hold any position without drifting up or down. (Always be at the crane with a hand on it in case of sudden wind gusts or someone accidentally bumping it!)
Use crane moves with purpose. Every camera movement should serve the story. A crane rise at the end of a scene can signal closure. A descent into a subject creates intimacy. Don't move the crane just because you can.
See this shot from The Revenant. Pay attention to how the crane moves to find new information and new compositions. Gorgeous!
FAQ
How much does a camera crane cost? Professional-quality camera cranes for independent filmmakers range from about $179 for a compact 4-foot model to $289 for an 8 ft DVC200. ProAm USA cranes include a lifetime warranty.
Can one person set up and operate a camera crane? Yes. ProAm cranes are designed for tool-less, one-person setup. The Orion DVC210 can be assembled and ready to shoot in about 10 minutes by a single operator.
What's the difference between a crane and a jib? The terms are used interchangeably. Technically, a "jib" refers to the arm itself, while a "crane" can refer to the entire system including the base and counterweights. In practice, most filmmakers use both words to mean the same thing.
Do I need a special tripod for a camera crane? You need a sturdy tripod or stand that can support the weight of the crane, camera, and counterweights. ProAm offers heavy-duty tripods and a low cost stand specifically rated for crane use.
How high can a camera crane reach? It depends on the arm length. A 4-foot crane reaches about 6 feet. An 8-foot crane reaches about 11 feet. With extensions, the Orion series can reach up to 15 feet.